The buffet project
After what seems a fairly long hiatus, we have started a pretty significant project of stripping and repairing our built-in buffet outside our bedroom and bathroom. Once you start living in a home that has ongoing work, after cleaning up from a project and making rooms look liveable the cleanness acts as a permanent psychological barrier to beginning any future project which might descend the house back into chaos. Well, this time around, after we covered the furniture, moved bookshelves and removed books, and did a lot of prep for repainting our living room, I thought, now's the time for the buffet!
The buffet suffered from perpetual filthiness. It's been a bit of an embarrassment that it's lasted this long before serious effort. (actual living space was always more important for us). Repeated times before I thoroughly scrubbed the buffet to have it remain looking filthy. It really needed a new coat of paint-which required a fair amount of prep work. In some places, the paint had chipped down to the wood revealing a coating of about 1/8 inch.
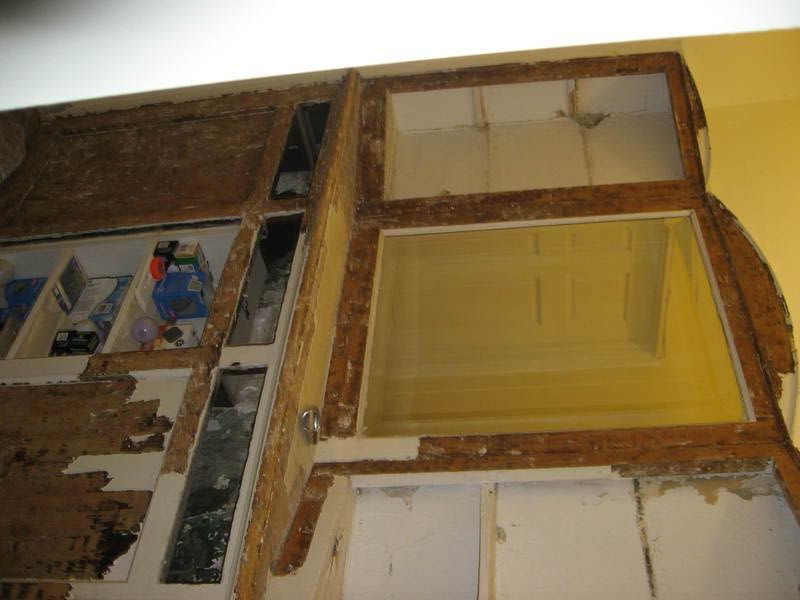
The second problem was the interior of the buffet. The back was the original plaster wall which was in disrepair. It looked really bad. Then, there were the shelves. They suffered from the perpetual and neverending filth problem, but they also seemed split and cracked. They also were tiny and hard to get to.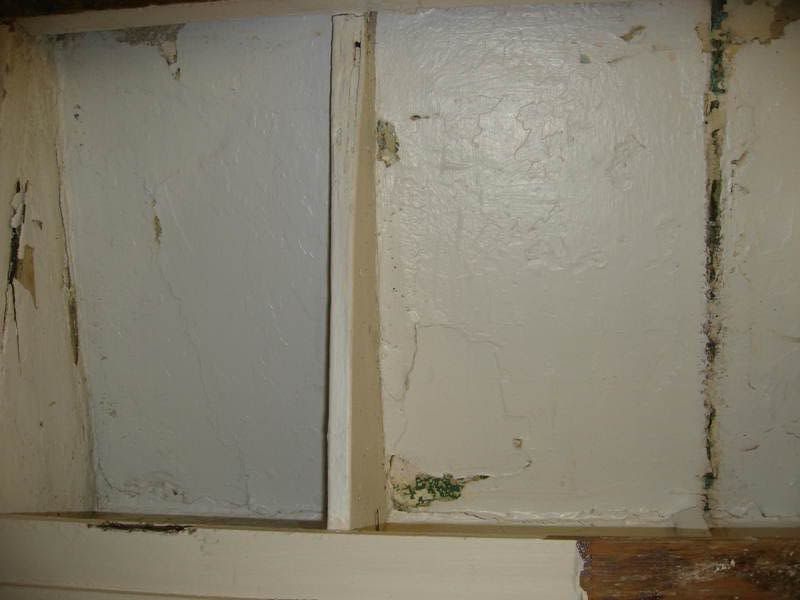
The third problem is some broken exterior molding. When our mason installed the exterior vent for our bathroom fan, some brick fell down and broke 2 pieces of curved molding. We will need to replace these pieces.
Now, onto the work!
I used a heat gun to remove the paint. It was really thick so took a long time. (quite fun with a window open when it's snowing and 15-not the optimal time for work!). It was a slow process. Since most of the buffet has vertical surfaces in a finished area of the house, I preferred to use the heat gun. Stripper is just much more of a challenge on vertical surfaces. Plus, there's the risk of stripper migrating to the finished floor. The down side with the heat gun is the fumes. I had to wear a respirator plus keep the window open.
Here's the buffet in progress, after one long day of stripping:
I also removed all the doors and drawers to be worked on separately. (note do not ever paint hinges!!!)
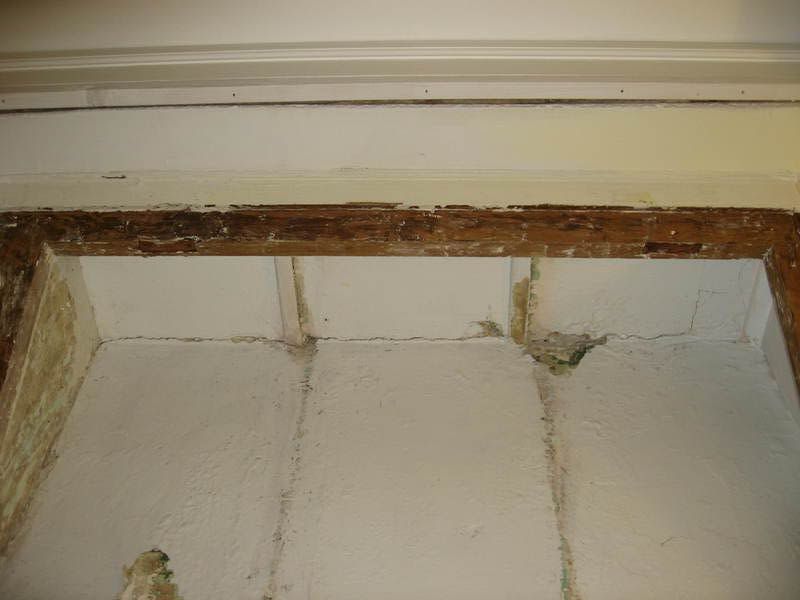
Now, after completing the paint stripping, and waiting for sanding:
I also was able to knock out most of the shelving.
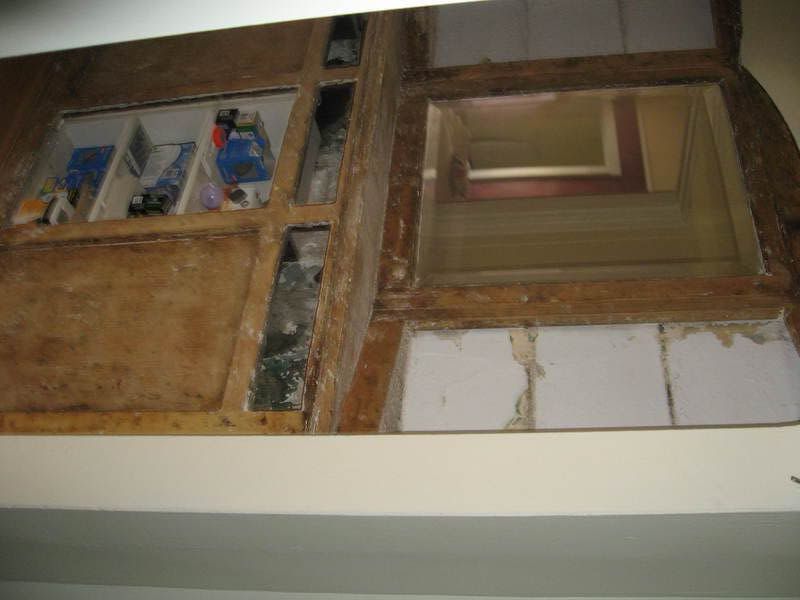
Next on the agenda? (1) finish the stripping with the heat gun (2) remove damaged molding (3) remove remaining shelf and chisel out bottom splintered shelf (4) work on plaster back of buffet . (I'm thinking for this, we'll just cover the plaster with painted hardibacker. If there's clearly crumbling plaster though, I'd like to take out the broken pieces).
We will use citrus stripper on the drawers and the doors. For the crumbling shelves, I think we might just change them out with new shelves. The original plywood is in bad shape.
posted by Christina at 7:42 AM
![]()
![]()


1 Comments:
How lucky you are to have built-ins!
I have a short cut to removing paint from hinges- a blow torch (do this outdoors of course), but also I know some people have boiled hardware in hot water and that has worked also.
Post a Comment
<< Home