No such thing as a simple molding installation
We are currently grappling with a solution to our latest "easy" project that has spiraled into something more cumbersome, expensive, and difficult than an untrained eye would anticipate. We have several different issues that have stopped us in our tracks.
1. Door molding. Our door molding is pretty basic. Simple straight lines, no fancy cuts (or so it seems).
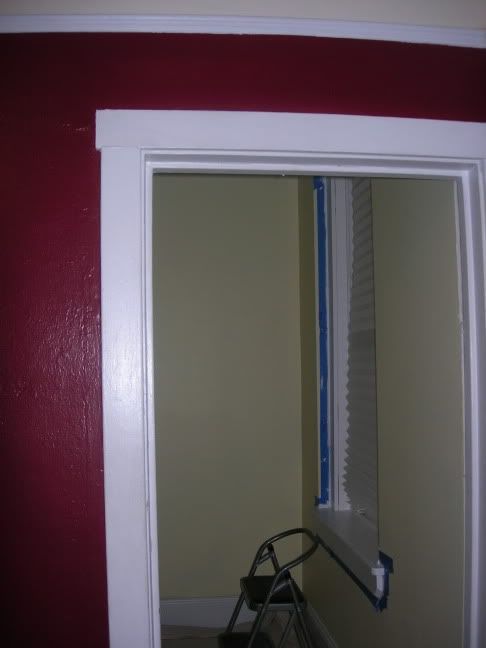
The problem? The side door moldings are 1/2 inch thick, and the top door molding is 5/8 inch thick-not standard wood sizes. The differences are important to have the necessary reveal.
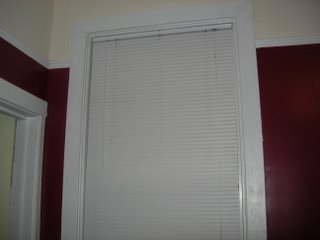
We went to Owl Hardwood (as referenced in www.chicago-2flat.blogspot.com), and found out that having them do the cutting and preparation of replacement molding would be much more expensive then we hoped (2.33/lf) particularly in light of the fact that we are just going to prime and paint it anyway.
We are planning on painting the molding for a few reasons (1) some of the original molding that is on the walls are attached to plaster walls. Removing them could result in the removal of more of the plaster wall than we would like, and an endless stream of plaster patching, sanding, priming painting, etc. The molding could also splinter when we take it off. (2) we like the very tall moldings, and buying new wood ones would be cost prohibitive (3) the original molding is not even oak, it is pine. Our floors are a mixture of oak and maple.
So, option number 2, would be for my husband to buy a bench planer (not cheap) so that he could create the appropriate dimensions. But, for now, door molding is temporarily on hold as we try to figure out some creative solution that wouldn't require a $400 power tool.
2. Cap in bedroom. We religiously salvaged whatever molding we could when we took it off in the first place. (when we did a selective gut in order to update electrical, etc.). Two pieces of our bedroom molding are no where to be found, so we assume they broke when we removed them. We can't find a cap to match anywhere, so now need to figure out how to construct a thick and complicated cap for the patchwork.
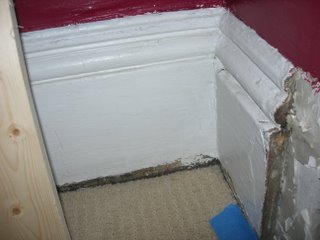
3. General base molding difficulty- We wanted a tall base molding, and when we looked at options, we found on 7 1/4 inch high molding in MDF that had enough detailing on the top that we would just need to install the one piece without a cap. Seemed much easier, and cheaper, not to have 3 pieces to install (base, shoe, cap), but just 2. Um....after 3 years working on the house, you would think we would know there's no such thing as an "easy, cheap" solution. The one piece would work great in new construction-but there's a reason why they did 2 pieces way back when--Walls created 100+ years ago didn't have uniform studs, and plaster walls aren't perfectly straight. A small cap is easier to flex and attach closer to the wall. Our result? We'll be doing a bit of caulking and my husband will probably become a bit frustrated in the process.
On the positive, we are making some molding progress--
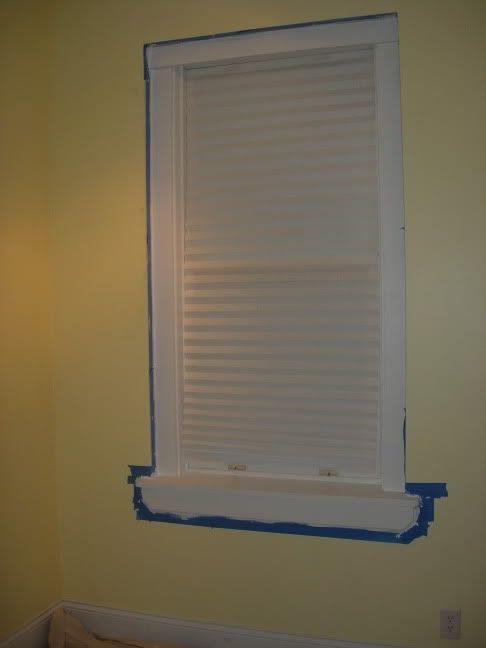 The window molding Glenn installed (and built) himself. We built out the walls some to add insulation.
The base molding we installed in our dressing room:
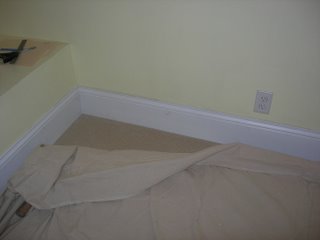 It still needs to be caulked and have the final paint coat put on. But, right now, this is looking like the most finished room in our unit!
Labels: molding


0 Comments:
Post a Comment
<< Home