Thursday, August 31, 2006

We've finally crossed an important threshold-which might not seem like much to the non-home renovator or to really anyone besides Glenn and I. Tonight I primed our living room ceiling and the patched and repaired largely still in tact plaster living room wall. (ran out of primer-so we'll have to finish up the rest of the room tomorrow).

The reason why this is so monumentous is the living room ceiling is the third ceiling we've had in there since we bought the place. The first ceiling (plaster) had a serious dip in the middle and had to go. We then had our drywaller's drywall a new one-which looked great, but little did we know it was just temporary.

The ceiling looked great until one day...drip.,..drip...drip. The roof that the home inspector said would last another few years decided it was going to arbitrarily protect the insides from water, and thus, part of the ceiling was pulled out, patched up, retaped....touched up some more...

Psychologically the primed living room works in a couple ways-(1) our living room really starts to look like a room-and not a construction site! Yeah!! and (2) Once the wall is primed, it ends the cycle of compound, sand, get irritated because I missed a spot or had air bubbles, then compound, sand...you get the picture. Once primer is up-that's it, game almost over and color walls to follow VERY shortly! (3) And, probably most important-it's the very last room in the house that needed to be primed or have any extensive wall patching.

Labels: , ,

Saturday, August 26, 2006

Small steps forward...


Well, we haven't made that much progress since last I wrote, but we took some time off to celebrate our 1 year anniversary. (and hey, you can't do a big rehab without any breaks if you want to keep your sanity and not kill your spouse). Instead of holding a hammer, we've been enjoying our cake.

But, this weekend, it was back to the grindstone-me with sanding our living room walls (ALMOST there). I must say, if you ever have a significant amount of drywall and/or patching I highly recommend the new "clumping" low dust kind of compound. A world of difference. It used to be that when I sanded, I would be covered head to toe in white. (of course, the fact is that my putting compound on could be improved-all looks good after the sanding though). Anyway, this new low dust stuff really is amazing at keeping dust down. I really wish they came out with it in 2003. We actually needed only a little bit more but had to get the large container for the new fancy stuff. Hopefully, there will be paint on the living room walls in the next week or so...we already have the paint, I just have to *hopefully* do a final sand, wash the walls, prime...well, in any case, we are close.

Now, the molding was a little more exciting today. All the base molding in the dressing room is now up! We also discovered that all this worry about matching our bedroom molding is silly. We never noticed this before, but apparently every wall of molding in the bedroom does not match!


When we took down the plaster in the dressing room (way back in July 2003) we noticed that there used to be a large opening into the bedroom and gathered that when our place was a single family home (about 100 years ago), there must have been a stair landing and a big entrance into our bedroom (which obviously wasn't a bedroom in yesteryear). So, apparently when they closed off the dressing room to make it a bedroom (actually when we bought the place the dressing room was a bedroom and our bedroom was a living room), they couldn't find the cap that we can't find and decided to do something easier. The good news is that will make our job a lot easier for matching.

Another thing we noticed is one doorway in the room does not have a plinth block though every other doorway in the house does. Funny to think that the last person to do more major renovations wasn't so concerned about matching everything up, when we are. But, I guess they knew what they were doing as we are just noticing these things now. And who really looks closely at molding besides us...

Due to the impending changing seasons we might be switching to radiators next weekend. We'd like to get our radiators painted, need to repipe one that Glenn had to cut out, and of course, install them. Although we probably won't need to turn on the heat until October, we've found that things have a tendency to take longer than we'd like.

Labels: , , , ,

Friday, August 18, 2006

Current photos

Since I previously posted some photos of the way the house looked when we bought it, I thought I'd just post the photos of what the house pretty much looks like now. The photos I posted earlier in the week, were of our rental unit just before the tenants took the keys. (For landlords out there-this is VERY important, our tenants turned our bathtub black and when I commented about the tub was dirty, the tenant claimed it wasn't...nice to have the photos to show, particularly if you ever have to go to court.

This is what our garden looked like this past April (I love the bulbs and the garden waking up):


Today:

The view from the street: My father-in-law diligently patched a lot of the fence which had missing concrete chunks. The posts also were rusted away, and he repaired them. All require a new coat of paint, which we hope to get to this summer...or I guess now I should say early fall.

Our stairs/front hall: (the original photo didn't do it justice, but the stairs were pulling away from the wall and were quite crooked when we bought it. We hired someone to staighten the stairs out, and do some molding patchwork. We took care of endless hours of stripping and sanding, pulling up the flooring, and tiling the hall. We still have to refinish the stairs, but there's no date set on that.

The dining room: New floors (that the first tenants ruined and we had to get resanded!)much patching, sanding priming and painting, and cleaning up the original light fixture. (or rather, the light fixture there when we bought it)


Bathroom:
Needless to say, we had to gut this room (including flooring-which we tiled). My husband built a little linen closet also. The original base molding was tile, so we needed to get new baseboard.

Living room: New floors as well. (the original were only 3/8 inch thick and were way too thin to be refinished) I stripped the fireplace, and tiled the hearth. (the stripping was an adventure as the prior owners painted the white marble orange, black, and white. Prior paint colors on the wall were orange as well-that must have been quite a vision!


Middle bedroom: Painted, added carpeting, and expanded the size of the closet.

Kitchen: Another gut-all the piping, electrical needed to be updated. The floors are the original floors-sanded twice. (tenants again)


Back bedroom:
The floors are original and were hidden under an industrial yellowish orange tile. Although the tiles were a pain to get out-they helped to preserve the floor. My father-in-law built the built-in pass through bookccase.

Backyard: The biggest improvement in this area happened this past summer. (unless cutting down the 4 feet of growth counted) The city wanted to tear down our garage, and instead we insisted on repairing it, and spent countless hours sanding it, replacing boards, replacing the roof (hired that out) and painting it. We still have some work to do, but once the city got off our case, we moved our work inside to work on our unit so we could vacate the rental and move back "home."

Labels:

Thursday, August 17, 2006

No such thing as a simple molding installation

We are currently grappling with a solution to our latest "easy" project that has spiraled into something more cumbersome, expensive, and difficult than an untrained eye would anticipate. We have several different issues that have stopped us in our tracks.

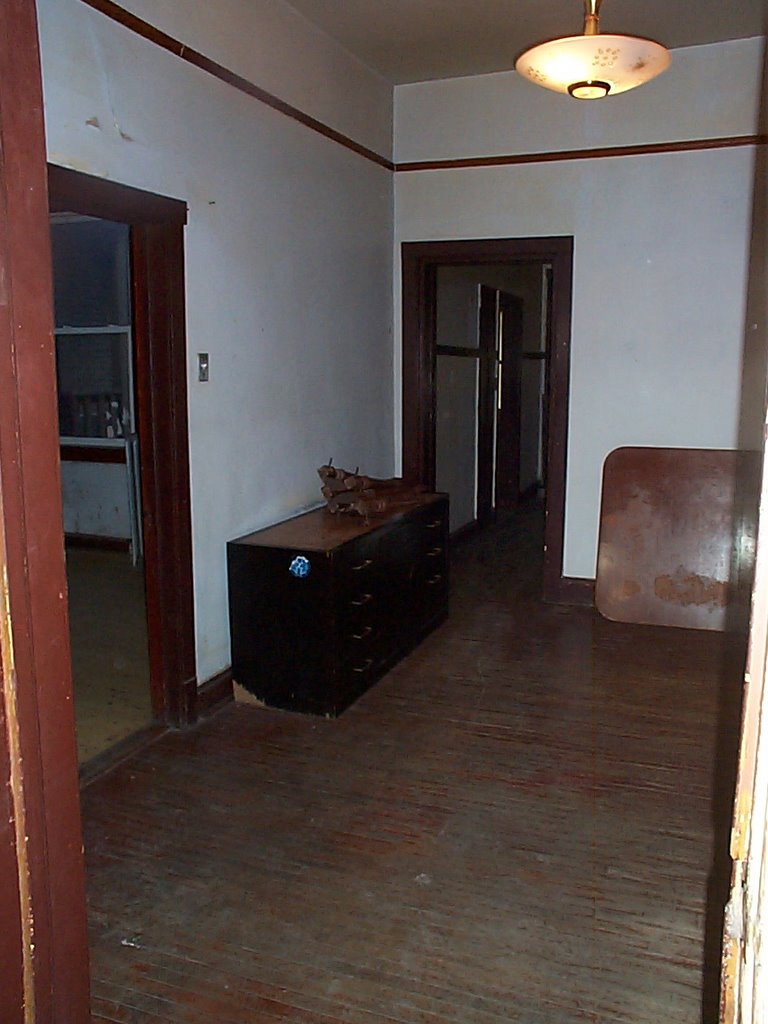
1. Door molding. Our door molding is pretty basic. Simple straight lines, no fancy cuts (or so it seems).
The problem? The side door moldings are 1/2 inch thick, and the top door molding is 5/8 inch thick-not standard wood sizes. The differences are important to have the necessary reveal.

We went to Owl Hardwood (as referenced in www.chicago-2flat.blogspot.com), and found out that having them do the cutting and preparation of replacement molding would be much more expensive then we hoped (2.33/lf) particularly in light of the fact that we are just going to prime and paint it anyway.

We are planning on painting the molding for a few reasons (1) some of the original molding that is on the walls are attached to plaster walls. Removing them could result in the removal of more of the plaster wall than we would like, and an endless stream of plaster patching, sanding, priming painting, etc. The molding could also splinter when we take it off. (2) we like the very tall moldings, and buying new wood ones would be cost prohibitive (3) the original molding is not even oak, it is pine. Our floors are a mixture of oak and maple.

So, option number 2, would be for my husband to buy a bench planer (not cheap) so that he could create the appropriate dimensions. But, for now, door molding is temporarily on hold as we try to figure out some creative solution that wouldn't require a $400 power tool.

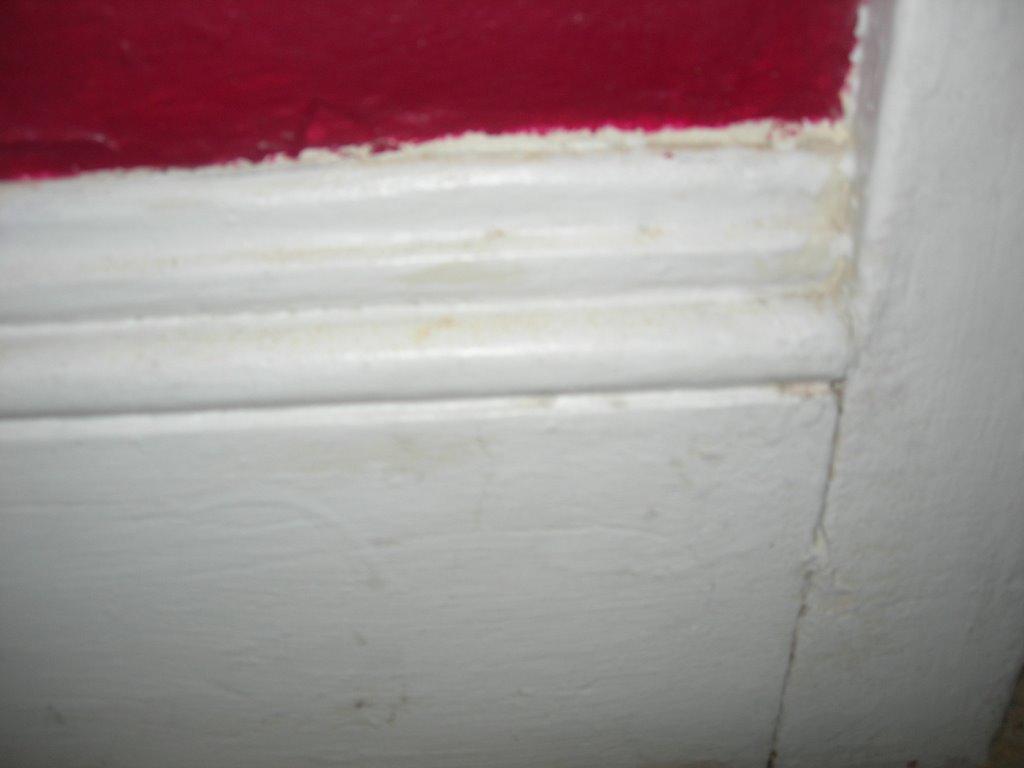
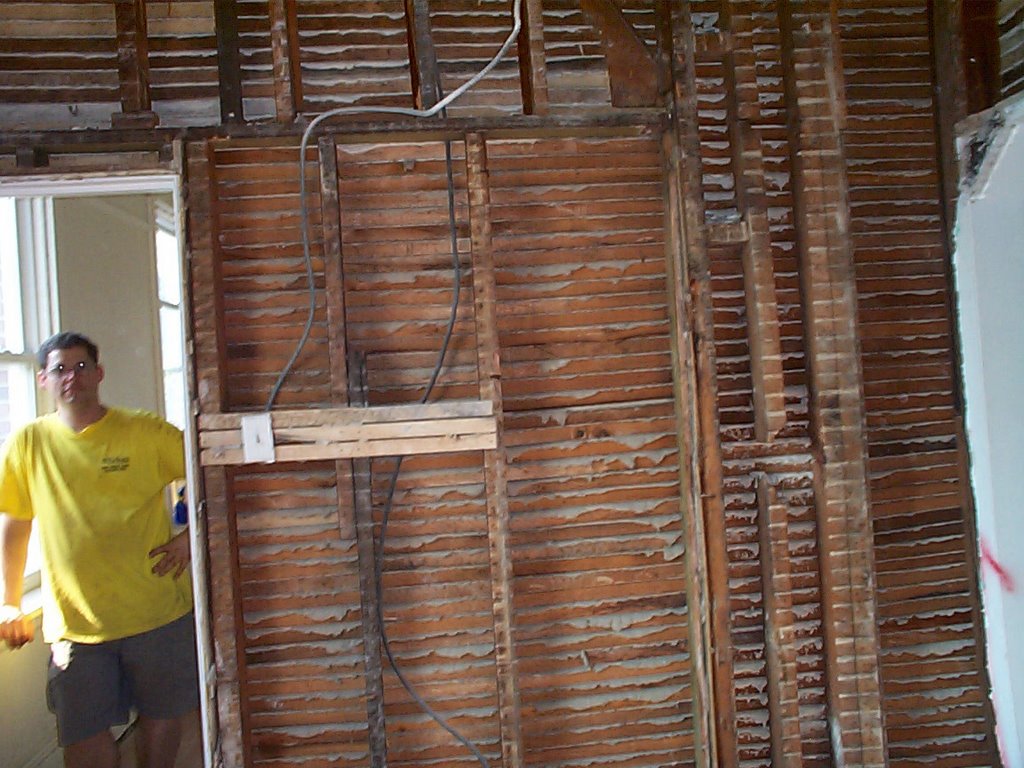
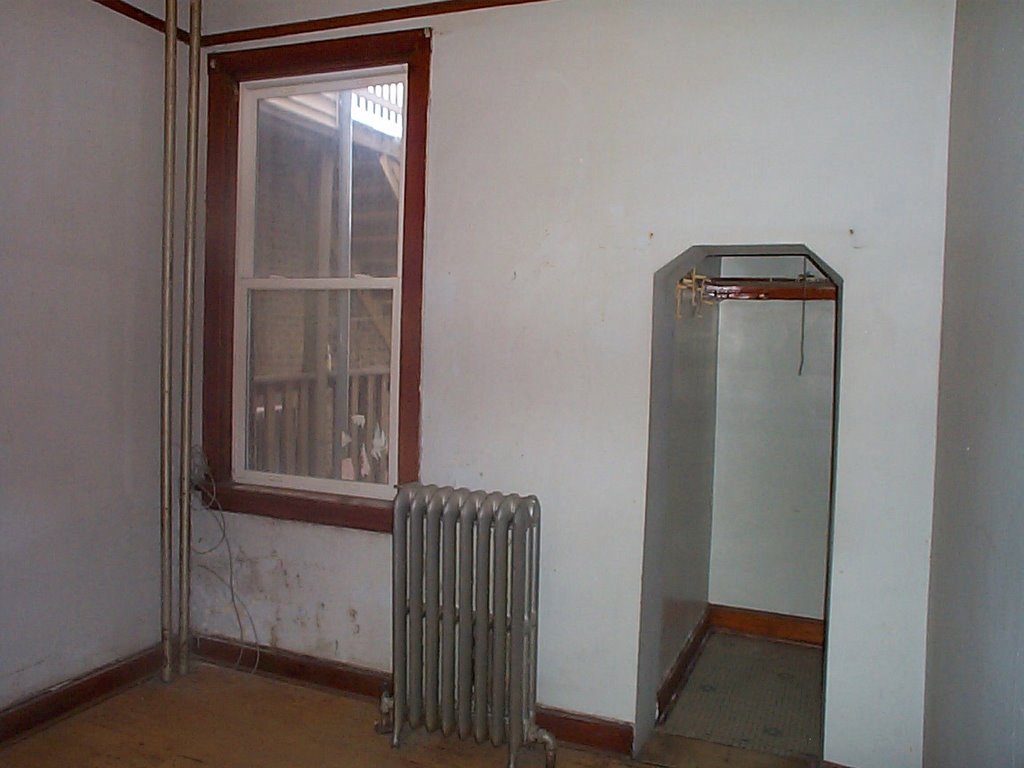
2. Cap in bedroom. We religiously salvaged whatever molding we could when we took it off in the first place. (when we did a selective gut in order to update electrical, etc.). Two pieces of our bedroom molding are no where to be found, so we assume they broke when we removed them. We can't find a cap to match anywhere, so now need to figure out how to construct a thick and complicated cap for the patchwork.

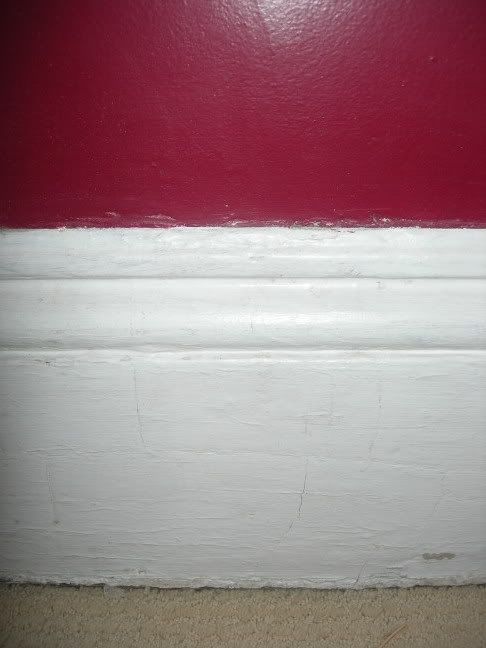
3. General base molding difficulty- We wanted a tall base molding, and when we looked at options, we found on 7 1/4 inch high molding in MDF that had enough detailing on the top that we would just need to install the one piece without a cap. Seemed much easier, and cheaper, not to have 3 pieces to install (base, shoe, cap), but just 2. Um....after 3 years working on the house, you would think we would know there's no such thing as an "easy, cheap" solution. The one piece would work great in new construction-but there's a reason why they did 2 pieces way back when--Walls created 100+ years ago didn't have uniform studs, and plaster walls aren't perfectly straight. A small cap is easier to flex and attach closer to the wall. Our result? We'll be doing a bit of caulking and my husband will probably become a bit frustrated in the process.

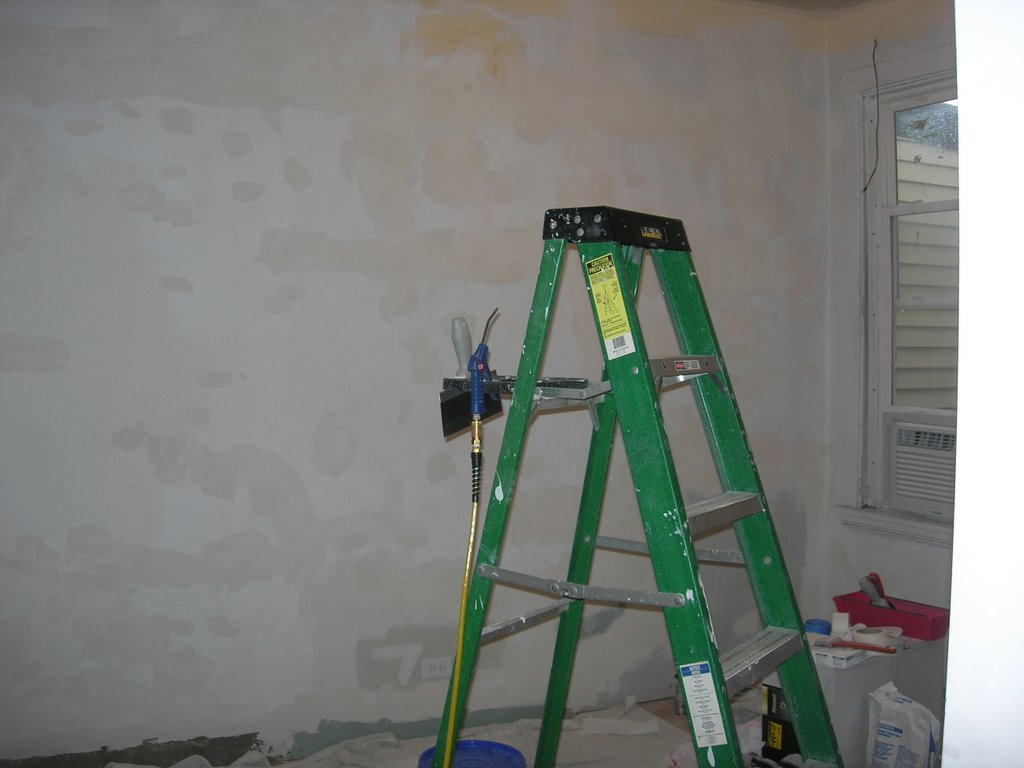
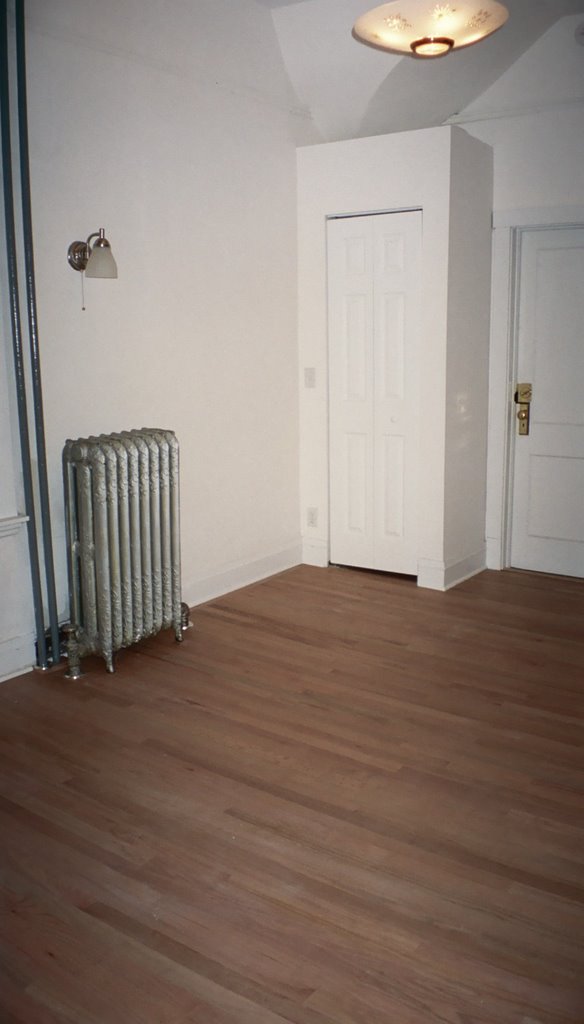
On the positive, we are making some molding progress--
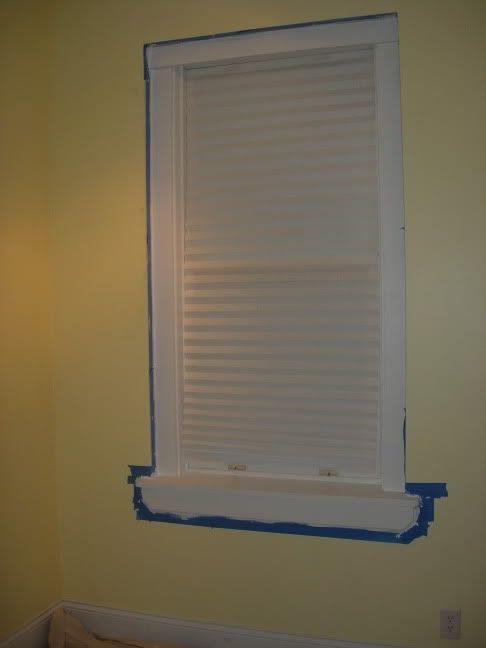
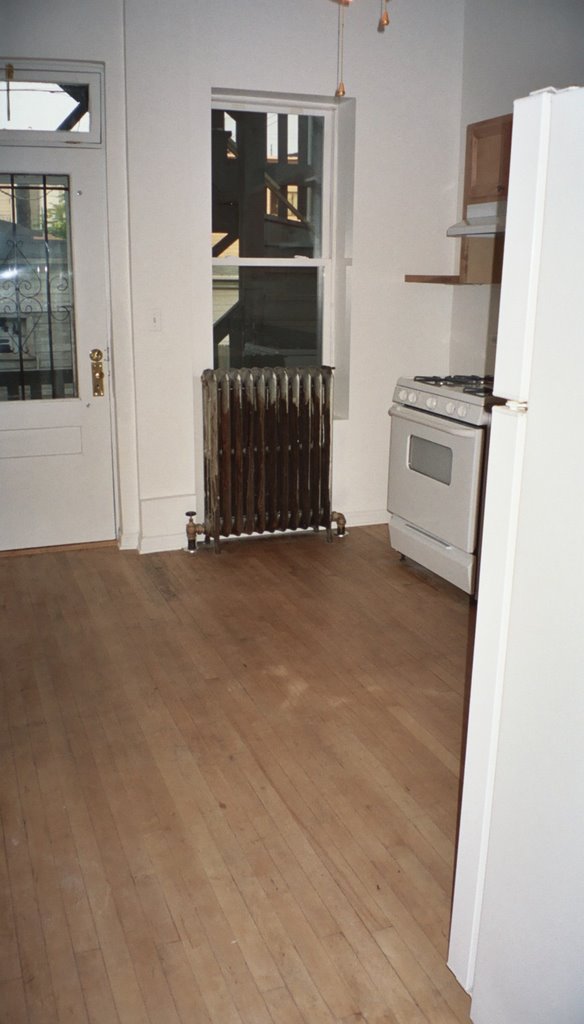
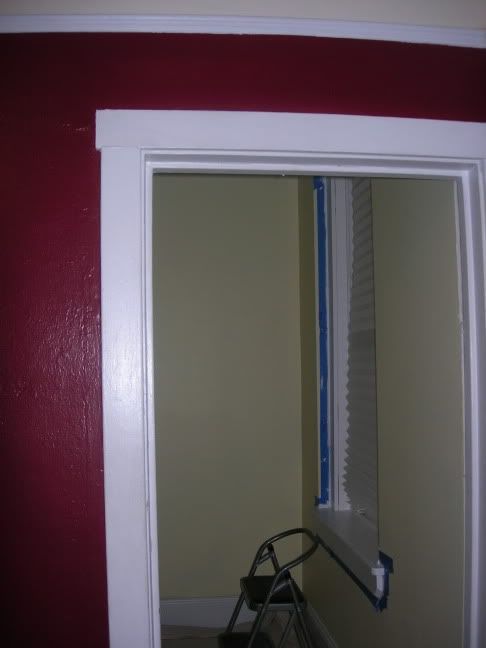
The window molding Glenn installed (and built) himself. We built out the walls some to add insulation.

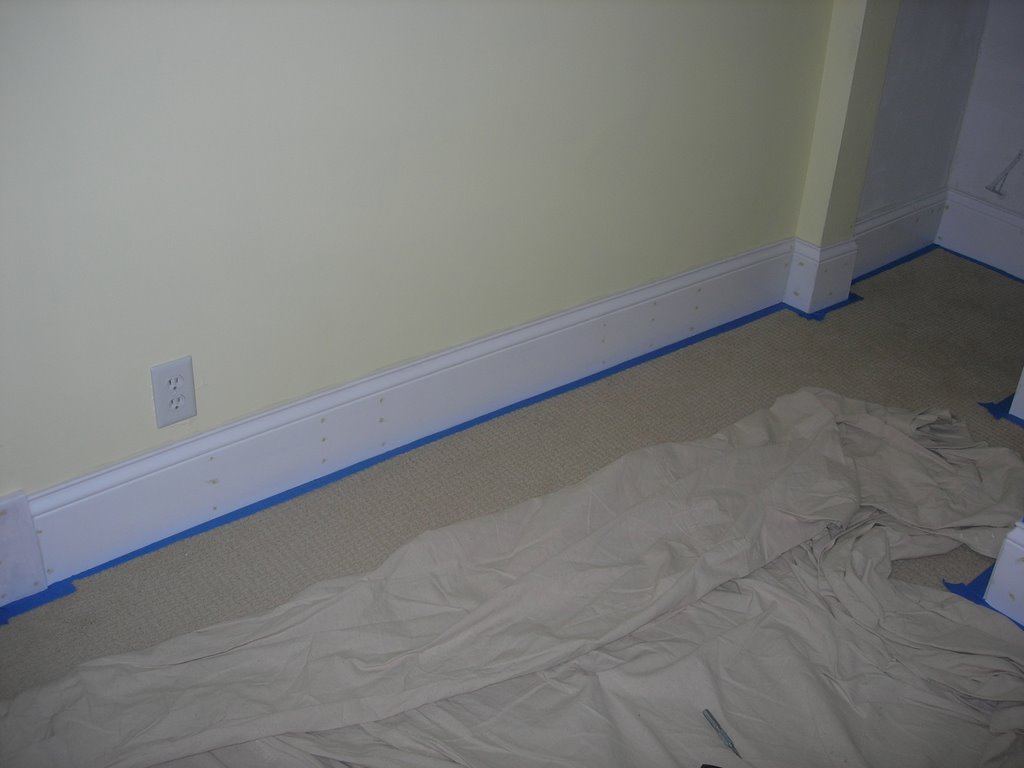
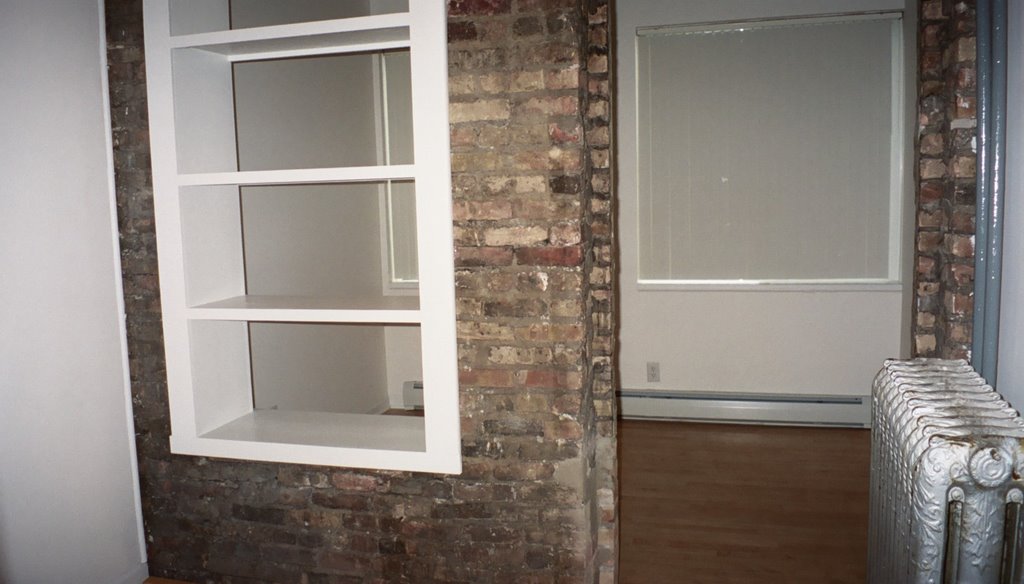
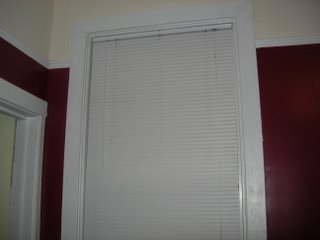
The base molding we installed in our dressing room: 
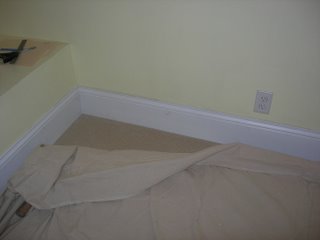
It still needs to be caulked and have the final paint coat put on. But, right now, this is looking like the most finished room in our unit!

Labels:

Wednesday, August 09, 2006

A little late....

My husband and I have been working on renovating our 120 year old two flat since July, 2003 and are nearing the end of the major renovation. (though, what is the end?).

Our house before we started work:


For a quick summary, we did a partial gut, 2 new kitchens, 2 new bathrooms, refinished floors, stripped a marble fireplace, stripped a staircase , stripped doors, landscaped the front yard, got a new roof, new boilers, new water heaters, pulled up flooring to the joists and installed insulation, leveled, new subfloor, and new wood floor and carpenting. Whew. (yep, we've been busy). During that time, we also got engaged and married. (oh, and had our first tenants which was a huge learning experience). We also did massive renovation to our 100 year old garage after the City threatened to take it down. (then the garage demolition program coordinator was fired).

On the short list now, we are trying to finish up molding and some painting in our unit so we can move back in. (we've been staying in our rental as the big "tear up the floor" project happened. On our "short list" of things we'd like to do this year is (1) install all our molding in our unit (2) paint the living room, dining room and hallways (3) repaint the front fence (painted and repaired in 2003).